Introduction to Structured Data – Part 4
Through this series of blogs (1, 2, 3) on structured data, we’ve talked about what it is, how you’re probably using it today (possibly without realizing it), and how it can be used in automation. Today, we’ll talk about storing that data in a Source of Truth, instead of using spreadsheets.
You can easily follow along with the examples in this blog by using demo.nautobot.com or by using Nautobot Lab.
Historically, network engineers have kept records about their network in spreadsheets. This has worked well, as long as the networks were simple and small. As networks grow and the data requirements grow, spreadsheets can quickly become cumbersome to maintain. This is where a source of truth comes in. A source of truth is a database that maintains the records that you require. For instance, in the first structured data blog, David gave an example of a small network in a spreadsheet. It’s small and simple to maintain, but as soon as he wanted more relational information, that spreadsheet would be difficult to maintain. What if David wanted to keep information about interface configuration, cross-connects, circuits, providers, vlans, network prefixes, access lists, route policies, advertised networks? Some of those individual items would be easy to keep on the existing spreadsheet, but all of that information together would become a burdensome task. A source of truth simplifies the relationships of this data and its maintenance.
To demonstrate this, I’ve set up the same data from the first blog into Nautobot.
Example spreadsheet from first structured data blog.
Within Nautobot, I created a region called “North Carolina”. Then I created three sites: Headquarters, Police Department (North), and Police Department (South).
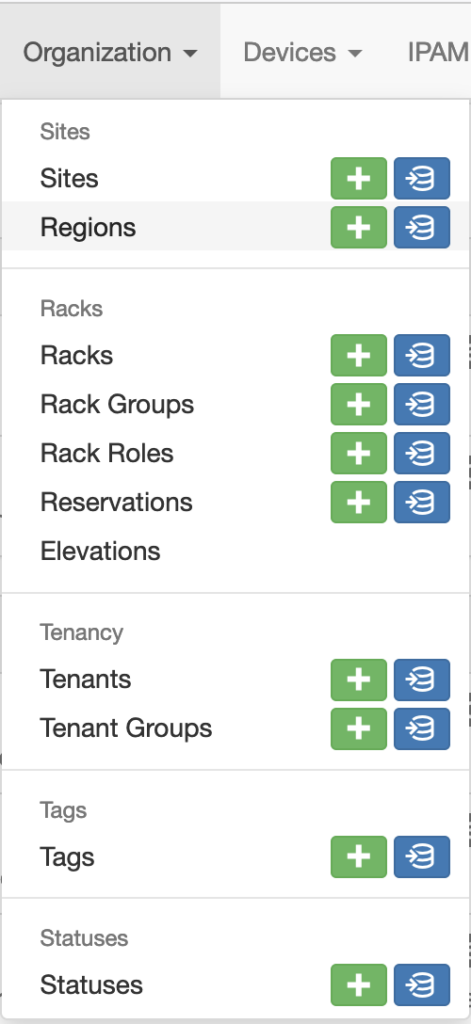
Each site has the address and contact information that was listed in the spreadsheet.
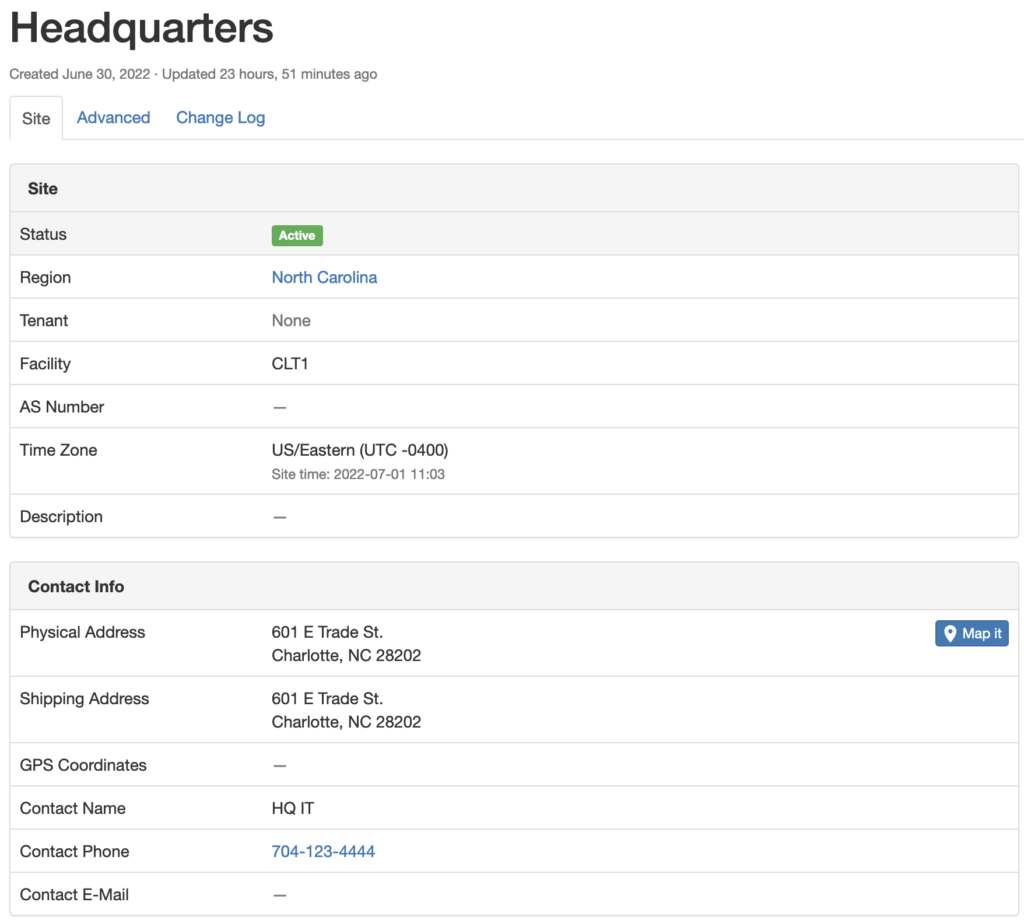
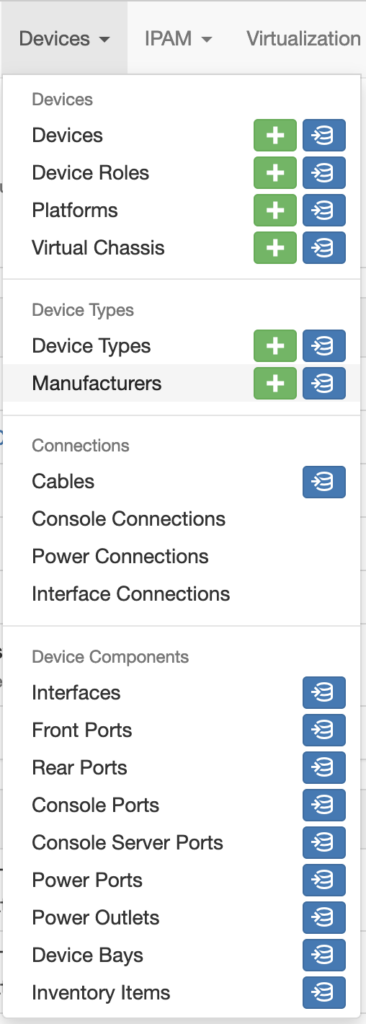
Once the sites were created, I created a manufacturer object, the device types, and the device roles.

Now that all of that is entered, we’re ready to create the devices. Instead of creating the devices individually, I opted to do a bulk import by modifying the CSV file to match the fields that Nautobot would be looking for.
name,manufacturer,device_type,serial,site,device_role,status
HQ-R1,Cisco Systems,ISR 4431,KRG645782,Headquarters,access,active
HQ-R2,Cisco Systems,ISR 4431,KRG557862,Headquarters,access,active
HQ-S1,Cisco Systems,CAT3560-48PS,GRN883274,Headquarters,access,active
HQ-S2,Cisco Systems,CAT3560-48PS,GRN894532,Headquarters,access,active
PD-N-R1,Cisco Systems,ISR 4431,FOM123124,Police Department (North),access,active
PD-N-S1,Cisco Systems,CAT3560-24,GRN334213,Police Department (North),access,active
PD-S-R1,Cisco Systems,ISR 4431,FOM654231,Police Department (South),access,active
PD-S-R2,Cisco Systems,CAT3560-24,GRN888931,Police Department (South),access,active

With the devices imported, the only two attributes left from the spreadsheet are the jumphost and management ip address. The jumphost attributes can be achieved by creating a config context. From the extensibility menu, select the + button next to config context.
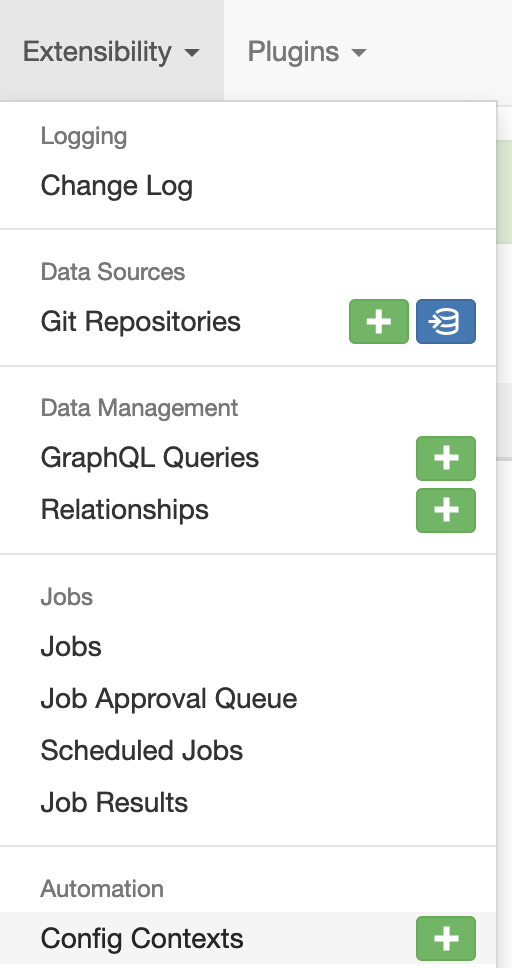
Within the “Add a new config context” menu, we can create config contexts that will be automatically assigned to devices that match the attributes that we assign. For example, we can assign the Regions to “North Carolina”, the Sites to “Headquarters”, and the Roles to “access”. Give the config context a name, such as “Headquarters jumphost”. The Data field accepts JSON-formatted data. Add the jumphost for the Headquarters site in the Data field.
{"jumphost": "10.20.10.2"}
Then press the “Create and Add Another” button. From here, you can add the jumphosts for the remaining sites following the same steps.
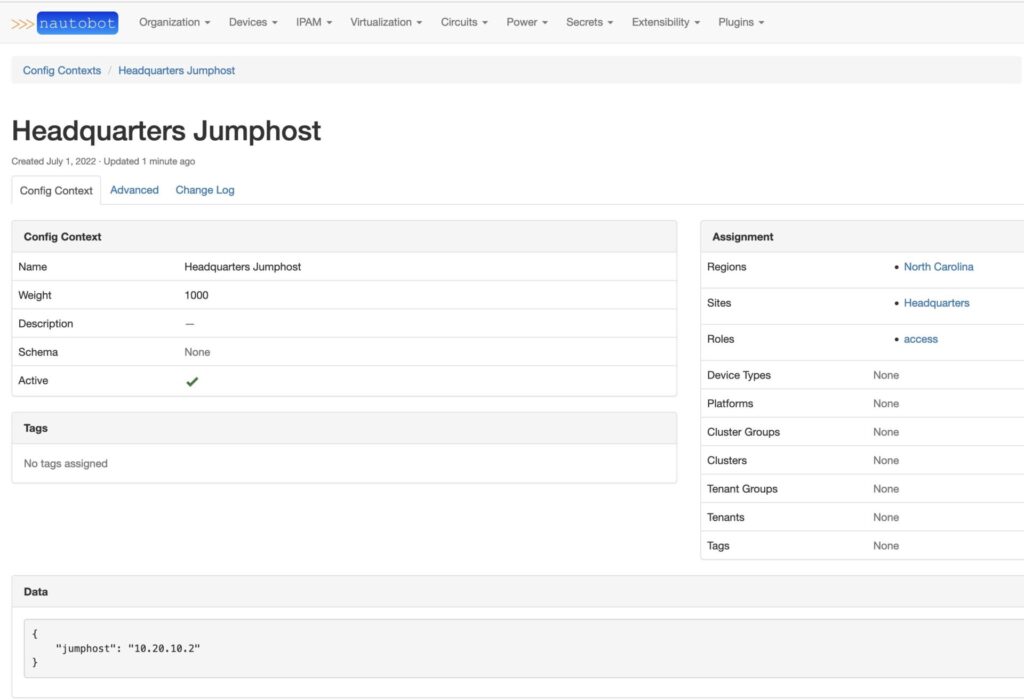
At this point, the config context for jumphosts will automatically be assigned to the devices. This can be checked by pulling up a device and selecting the “Config Context” tab.

To abstract the final attribute, we also need to create interfaces to associate with the management ip address. To do this, go to a device, drop down the “+ Add Components” menu, and select interfaces.

Add the name of the interface, drop down the menu and select the interface type, select the “enabled” and “management only” check boxes, select an interface mode, and press the “Create” button.
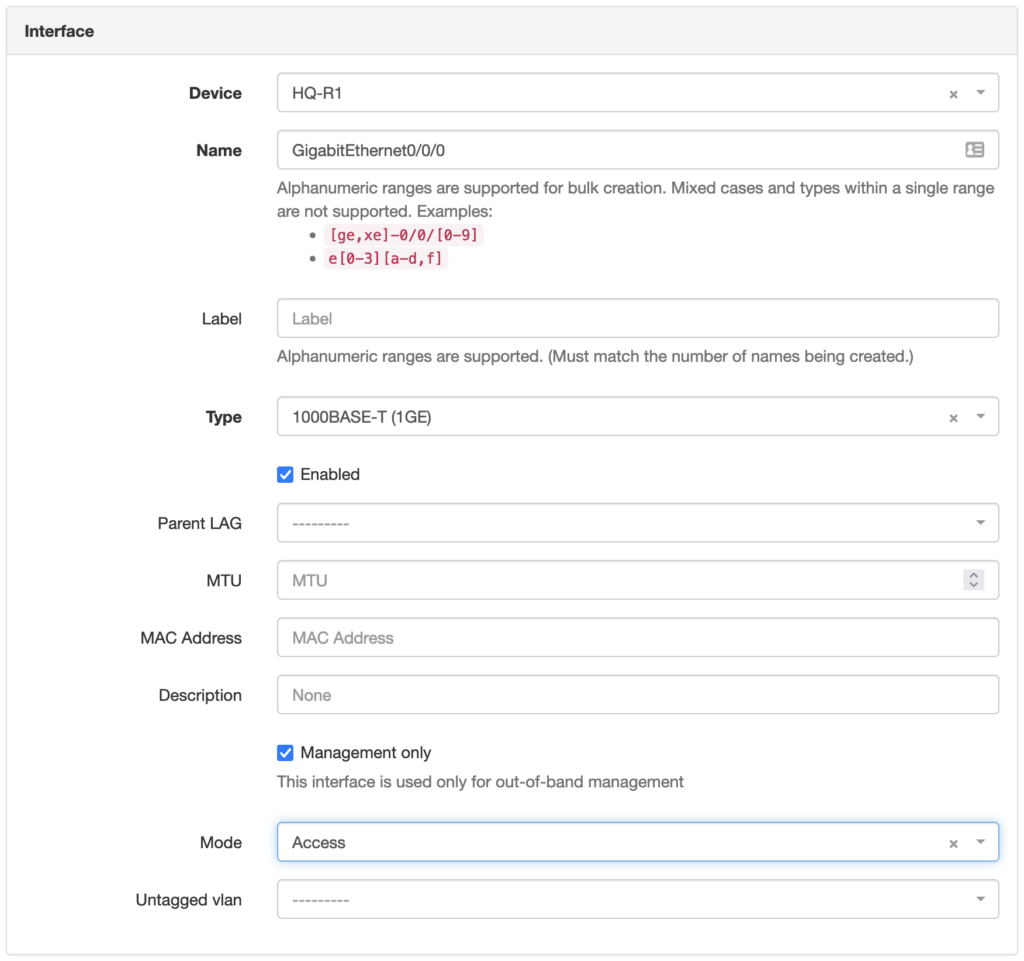
At this point, you will be taken to the interfaces tab of the device page. The newly created interface will be in the list of interfaces. At this point, you can assign a management ip address to the interface by pressing the “+” button.

From the “Add IP Address” page, give the device a management ip address, select the status, check the “Make this the primary IP for the device/VM” checkbox, and press the “Create” button.
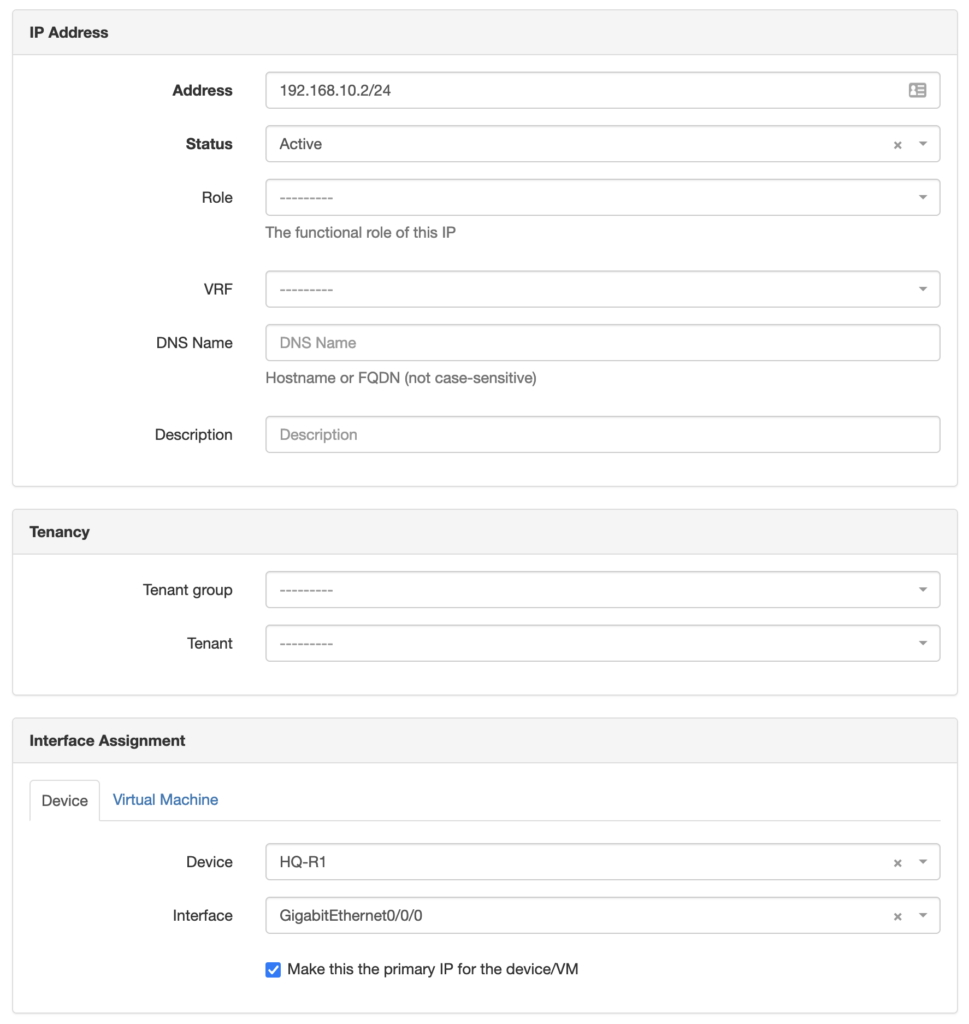
With that, every bit of data from the first blog spreadsheet has been captured in the source of truth. We’ve even added an extra data point by associating the management ip address with a specific interface on each device.
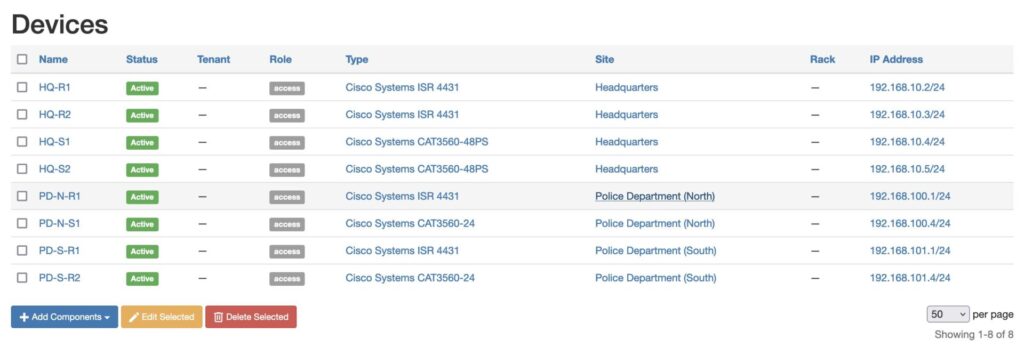
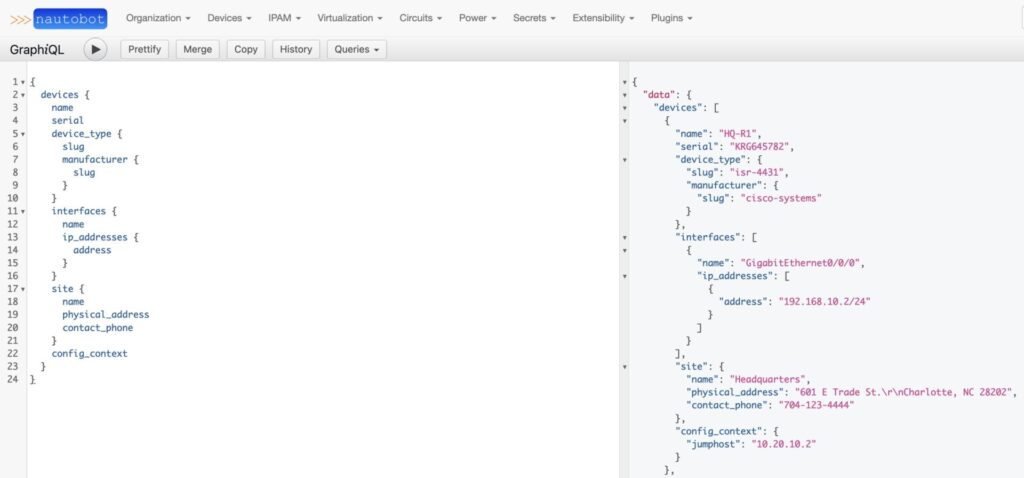
With this data loaded into Nautobot, it becomes much easier to start associating other data with devices and networks. Data attributes related to routing, interfaces, access lists, route policies, and so forth can all be incorporated. Having all this data at your fingertips also creates the foundation for network automation.
Conclusion
Building and deploying networks is a data-intensive job. Using a source of truth platform, such as Nautobot, enables network engineers to define network architectures that are cohesive, consistent, and that enable automation. If you have any questions, feel free to reach out on the Network to Code Slack.
-James
Tags :
Contact Us to Learn More
Share details about yourself & someone from our team will reach out to you ASAP!

